Launching the Imaging Notebooks
This tutorial shows you how to launch the Imaging Notebooks for CT reconstruction or for data processing.
1. Connect to the analysis server
Follow this tutorial on how to connect to the analysis.sns.gov machine.
2. Launch the notebooks
Open a terminal by clicking the following icon at the bottom of the window

and type
/SNS/VENUS/shared/software/menu/start_notebooks_with_orion
3. Be patient!
If you are running this command for the first time, it may take up to a few minutes (depending on the traffic on the server) to do the following:
- install the correct application
- prepare the environment
The splash screen will quickly go away, but it will take more time to finish the installation.
Then the ORION window will be displayed
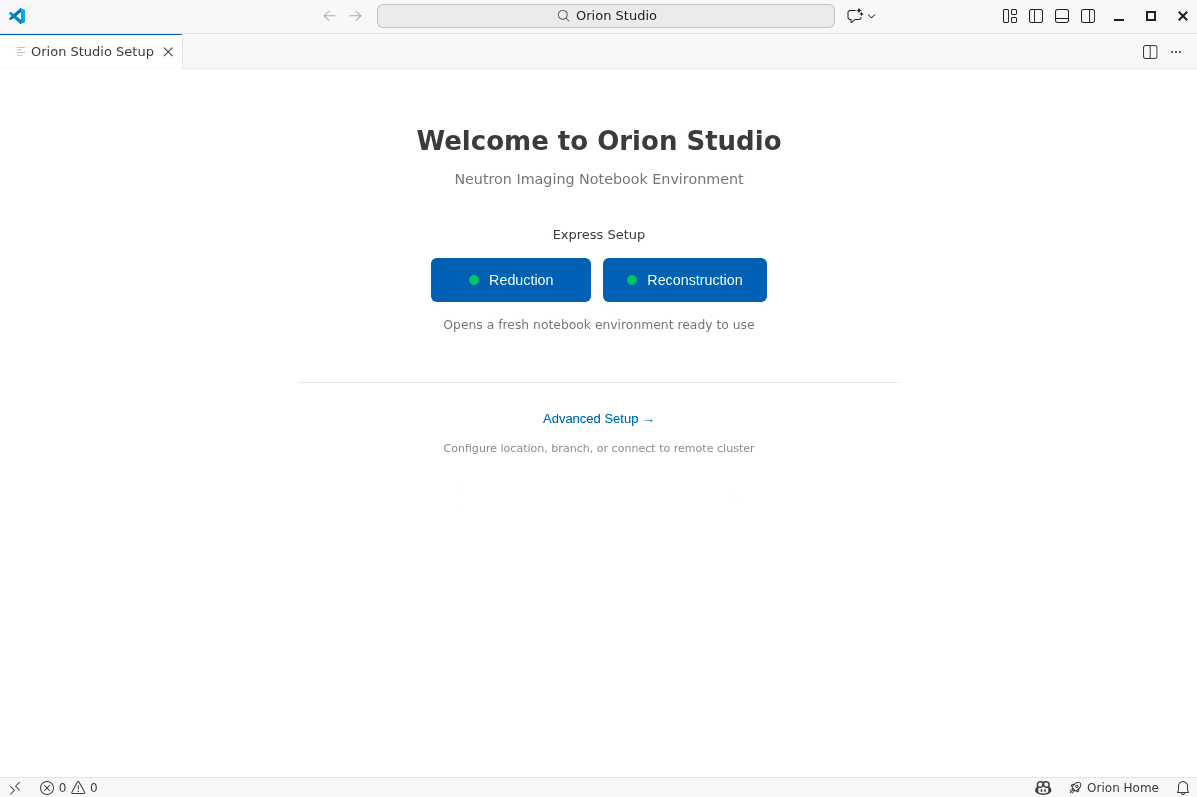
4. Select the notebooks you want to work with
Reduction -> all processing notebooks
Reconstruction -> CT reconstruction
5. Accessing the notebooks
Again, this step may take some time depending on the traffic. At the end you should see a list of notebooks on the left side. If you don’t, click the notebooks folder.
6. Launching a notebook
Click the notebook you want to launch, for example step1_prepare_CCD_images.ipynb for this example.

SHIFT + ENTER on the first cell, if run for the first time, will require you to select the right Kernel.
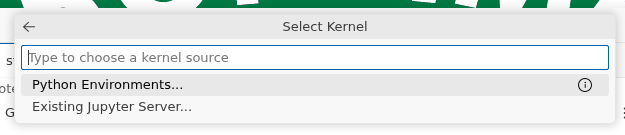
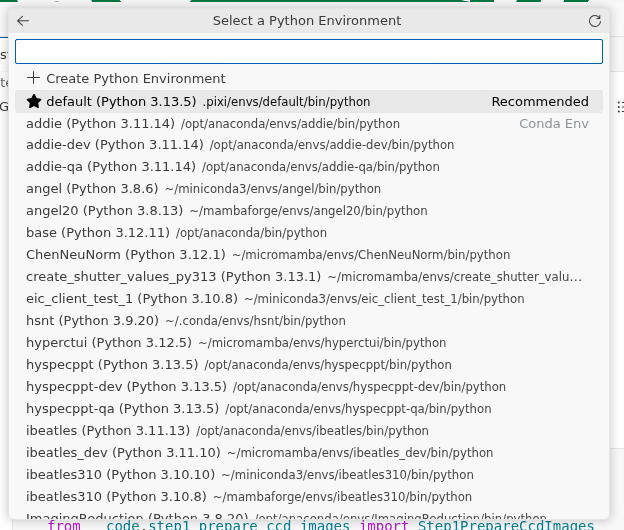
click the Select Kernel > Python Environments … and select the default (recommended) kernel listed at the top.
From there, the window should behave like a normal notebook.
Orion studio is a fork of Microsoft Visual Studio Code and you can access the full features via the standard command palette.
