Group images by cycles for grating experiment
Description
Grating experiments in CT mode collect a multitude of data files, all created in the same folder. Those data must be sorted using a couple of metadata parameters (rotation and G0 by default).
This notebook will automatically sort the data by group using those metadata. Once sorted the files are renamed to be able to be processed by Angel and the configuration file (excel file) is created.
Tutorial
Select your IPTS
Need help using the IPTS selector?
Select data to sort
Using the file selection tool, select the folder containing the data to process, and then select within that folder all the data to work with. The selection of files instead of the entire stack of files allows you to have sample and ob files in the same folder without compromising the sorting.
Select the type of data to sort
Are you working with sample data or with open beam (ob) data? You need to select now the type of data to be able to customize the output folder name and to figure out the right columns to fill up in the excel document.

Select the metadata to use for sorting
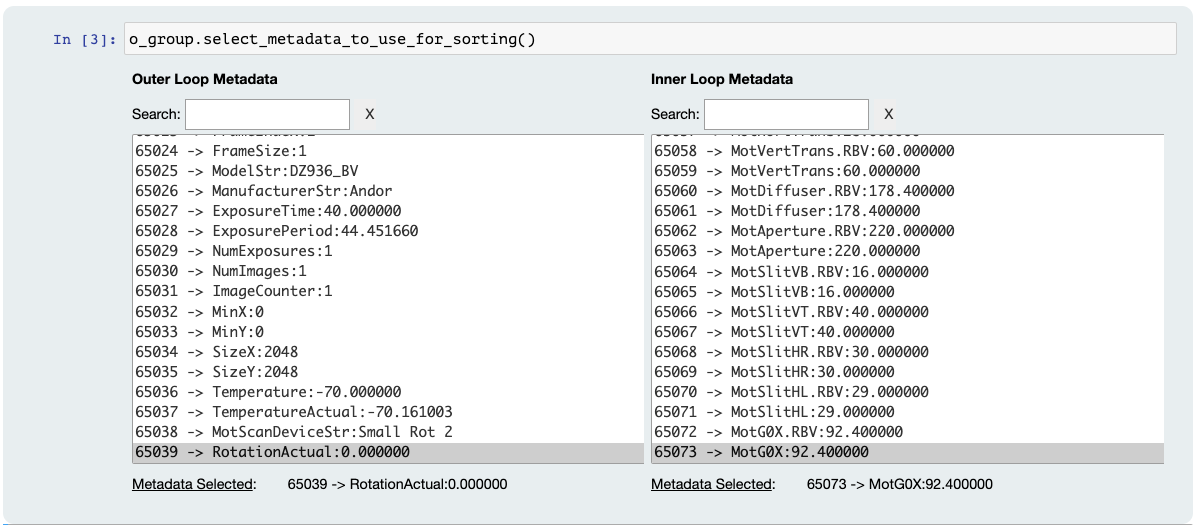
This is where you specify how the images will be sorted. The left column is used as the outer loop parameter and the right column as the inner loop parameter. A search tool is available at the top to allow you to quickly narrow down the list of metadata by just entering a few keystrokes. The button labeled X to the right of the search fields resets the search criteria.
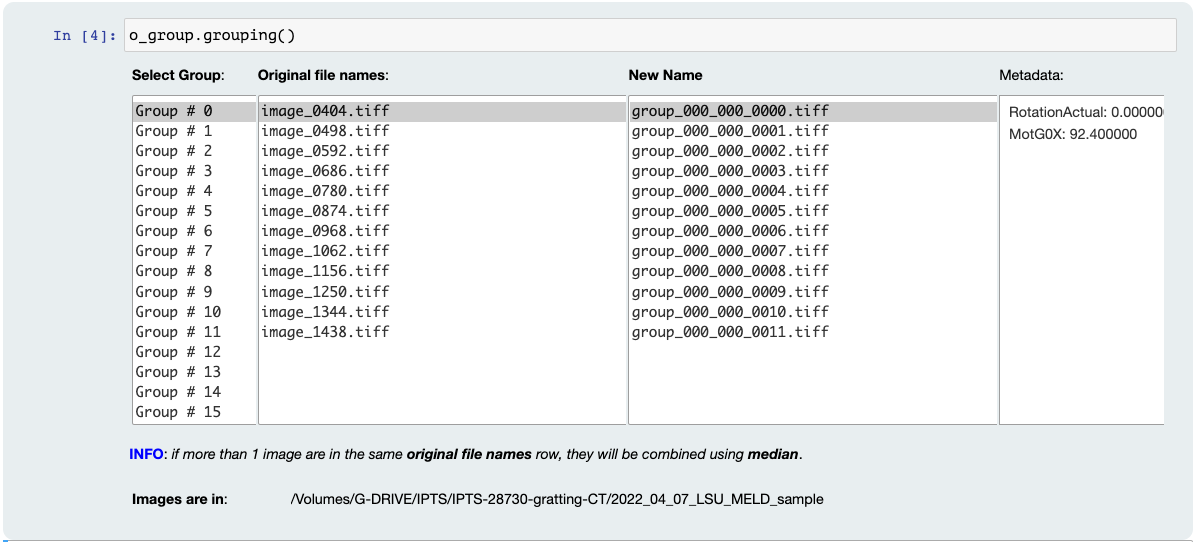
Grouping
Using the list of files you defined, and the metadata criteria, the files are sorted and the resulting grouping is displayed when running this cell.
- The left column displays the name of the group, i.e., the outer loop
- the second column, the original name of the image
- to the right of this column, the new name that will be used
- in the far right column is displayed the corresponding metadata values of the image selected
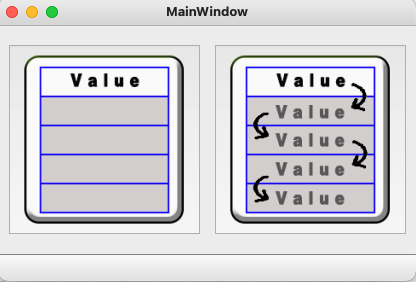
In cases where more than 1 image have the same inner and outer metadata values, the images are then combined using a median algorithm
Under the table, a label reminds the user of the input folder selected.
Select output folder
Select where you want to export the new images created. Once selected, the notebook will automatically trigger the renaming and grouping of those files. A couple of progress bars will allow you to follow the progress of the work.
Generate Angle configuration file (excel)
This step is optional but will surely simplify your life if you need to normalize the data using Angel.
The first cell (%gui qt) is needed by the notebook to bring to life a user interface when running the next cell.
At this point, you have to decide if you want to create a new excel document or load a previously created excel?
Create a new excel document
If you select this option, a new excel will be created and the sample or ob columns will be filled with the files from this notebook. Default values for all the other fields are provided automatically.
Any cell in RED is an indication that this excel will not work in Angel in the current state.
Open existing excel
In this case, a file dialog asks you to select the excel file you want to load and work with.
Editing the table
YOu can manually edit all the cells, except the rotation column. Once the cell has been edited, click the button below the table labeled checking if the current table can be loaded in Angel to check the format and content of the table.
Once you have modified any of the widgets found inside the cells, a pop-up window asks you if you want to duplicate that change to all the other widgets of the same column or not.
Right click inside the table
Some of the cells, such as the one requesting a file or a folder, allow you, by right click inside the cell to bring a file dialog.
You can either
- browse for a file and replace the content of the current cell
- browse for a file and replace the content of all the cells of this column
A right-click inside any of the cells also allows you to remove the current row or duplicate that row at the bottom of the table.
Save as …
Click that button, placed at the bottom right of the user interface, to export that table into an excel document.
Some of the cells can not be modified, such as the cells in the rotation column. The last 3 columns, sample_information, used_environment and osc_pixel are not used in Angel.
