Images registration using the pystackreg python library
Description
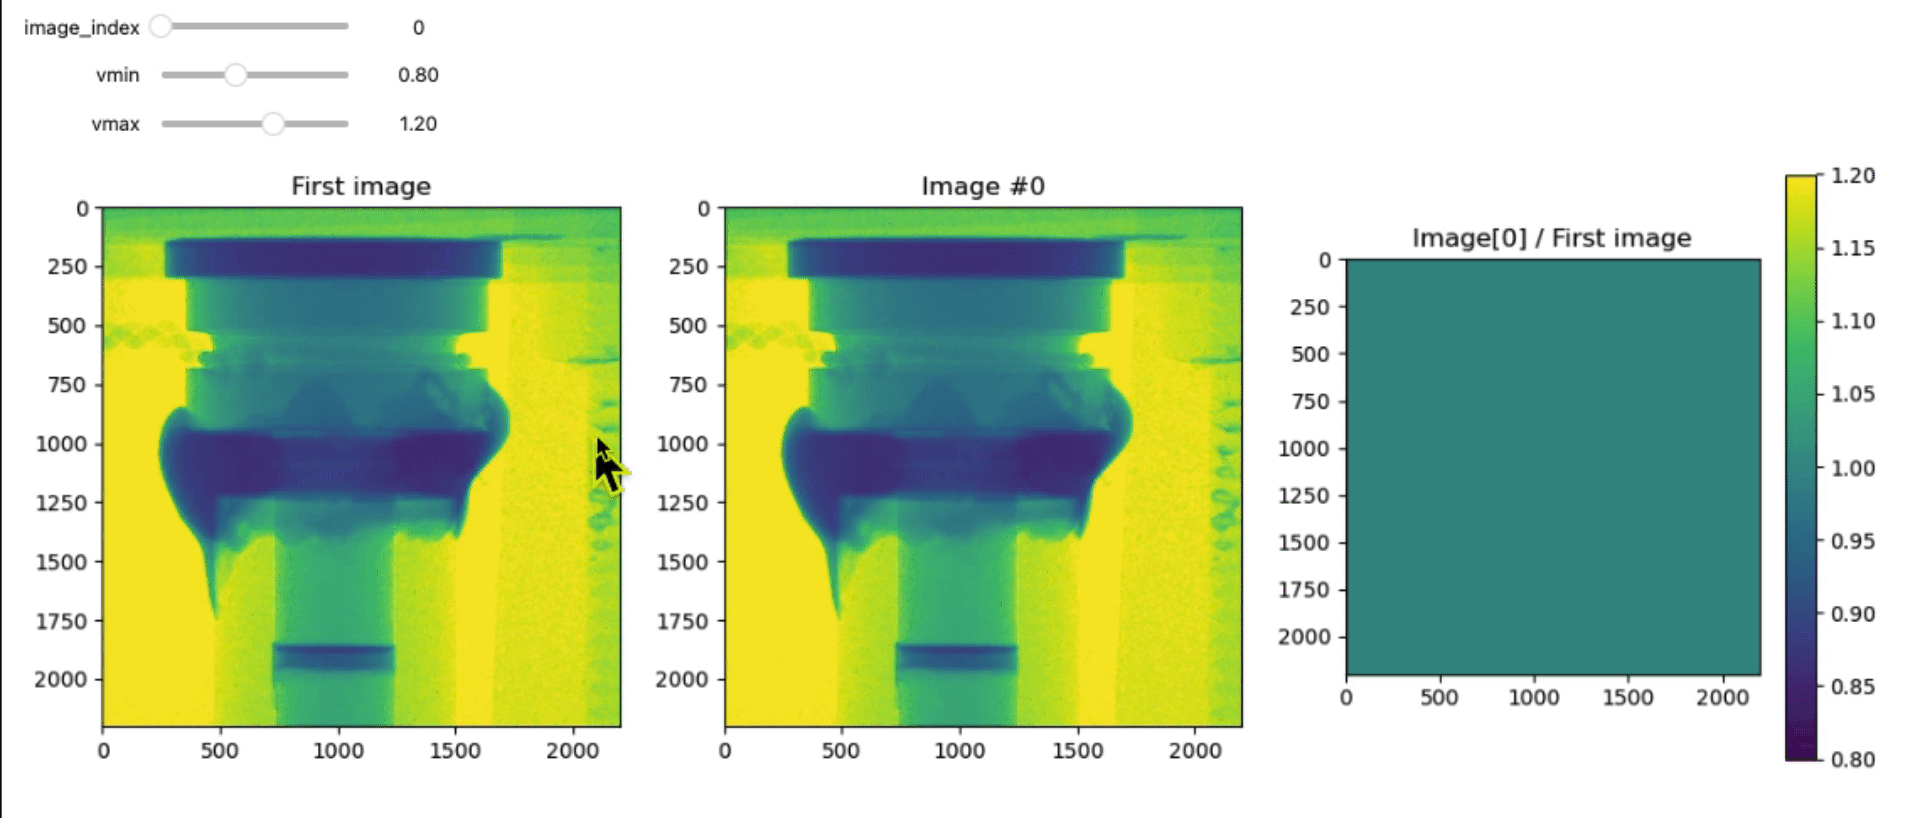
This notebook will use the pystackreg python library to register a stack of images using various parameters and algorithms. The registration work can be evaluated by displaying the ratio of the n image over the first image. If the registration is perfect, that ratio will only display the changes within the sample itself, the sample holder should be invisible on that normalized image.

Tutorial
Select your IPTS
Need help using the IPTS selector?
Select the folder of images to register
Using the folder selection tool, select the folder containing the images to register
Check unregistered images
Once the data have been fully loaded in memory, executing the cell will display 3 plots (first image, n image, and the ratio of n by the first image). This allows you to estimate the current alignment of the images (see the introduction section showing a good and bad alignment of the sample holder).
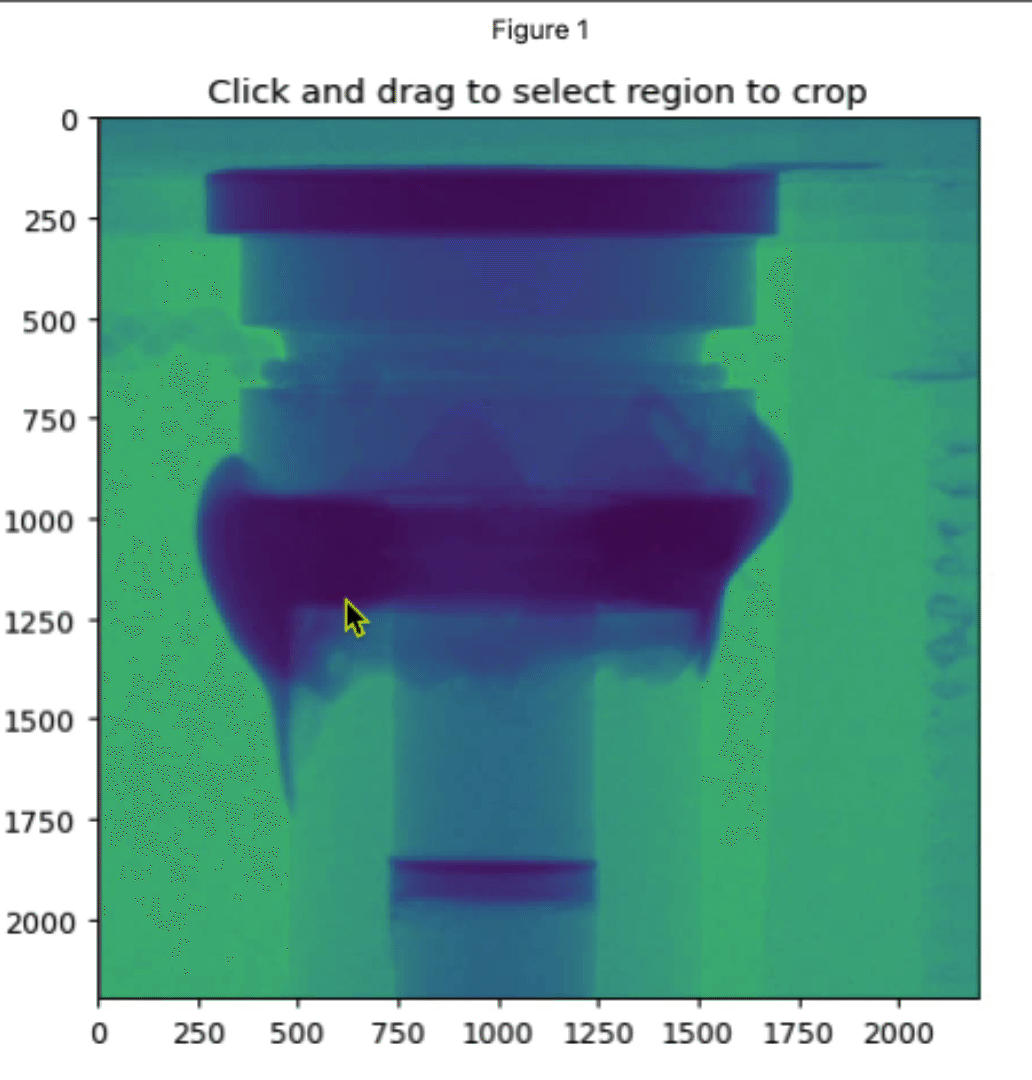
Crop unregistered stack of images
You have the option to crop the stack of images to keep working on it (in case you want to focus on one section of the images).
The first image is displayed to guide you in your region selection.
PS: you will have the possibility to crop the stack of images registered, just before exporting them.
Just click and drag to select the region to keep. Use the side corners to resize and the center square to move the selection around.
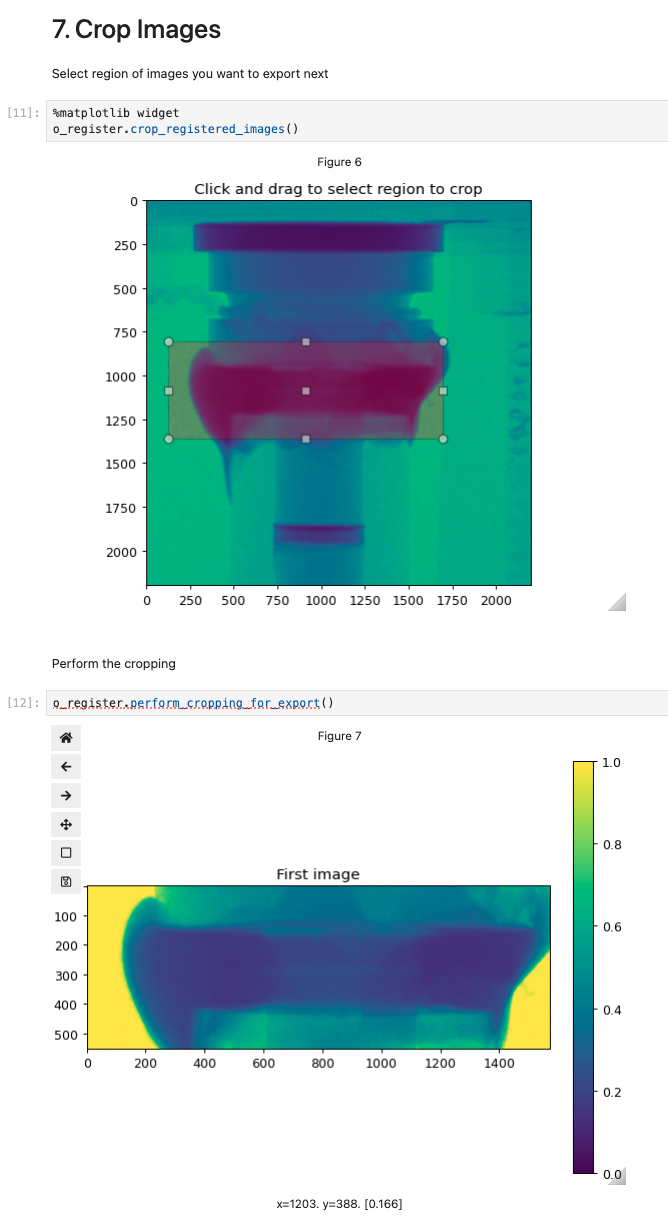
Perform the cropping
Simply run the next cell to perform the cropping on the entire stack.
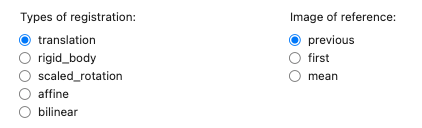
Define the registration parameters
The pystackreg library comes with a few parameters that you can modify, the reference parameter and the registration algorithm. Please refer to the library documentation to learn more about those parameters.
Perform the registration
Once the registration is performed on all the images, the result will be automatically displayed and will allow you to test the quality of the registration.
Crop the registered images
This is your second and last chance to crop the images in order to keep only the part of interest.
Export images
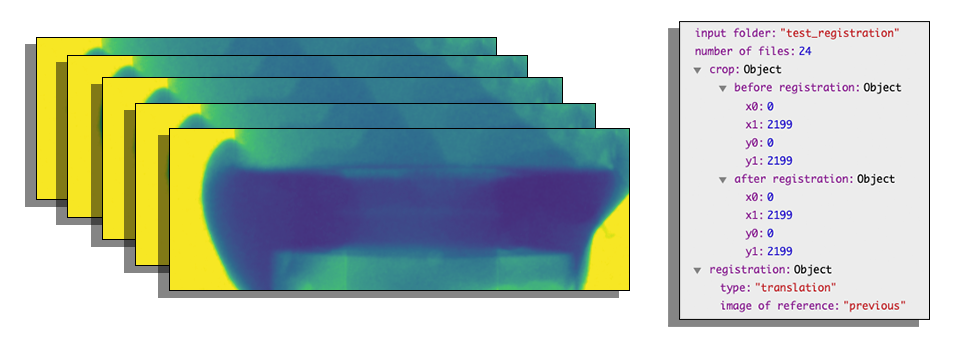
Select the root folder where the data will be exported. A folder will be created based on the name of the input folder + data and time stamp (to make the folder unique). A json file containing all the parameters used in the registration will be added to that folder.
Use the folder selection tool, to select that output folder.